

It was past midnight when my phone rang.
“Bro. The website is down. Completely. We’re getting hammered — the whole system is offline. I think we have malware too. I haven’t slept. I don’t know what to do.”

My friend — let’s call him Leo — works IT for a mid-sized company. 14 servers. Mix of Windows and Linux. Some internal, some public-facing. And right now, all of them were either down or suspect.
He had already spent hours on manual Linux incident response — SSHing into machines one by one, running commands from memory, taking notes. One hour per machine. 14 machines. That is a 14-hour server triage nightmare before he even starts fixing anything.
“Can AI help?” he asked. He couldn’t share company details — confidential. But he didn’t need to. The commands don’t care about company secrets.
I pointed him at a Linux incident response checklist I’d been building. He used it that night. Total triage time for all 14 machines: under 30 minutes. About 2 minutes per machine instead of 60.
What Was Actually Happening
Two things at once — the worst combination:
1. A DDoS attack — traffic flooding the public-facing servers until they couldn’t respond. Classic volumetric attack. Site goes down, alarms fire, phones ring at midnight.
2. Suspected webshells and malware — the scarier one. Because the DDoS might be a distraction. Attackers flood the front door with noise while quietly planting backdoors through the back. Leo suspected someone had gotten in days earlier and left a persistent foothold.
So he had two parallel jobs: handle the immediate traffic storm, and run webshell detection across 14 machines. Alone. At midnight.
The Old Way: 1 Hour Per Machine
Before AI, Leo’s server triage process looked like this:
SSH in → run ps aux → take notes → run netstat → take notes → check crontab → check /tmp → check auth.log → grep for webshells manually → document findings → move to next machine.
One machine, properly checked: 45–90 minutes. Fourteen machines: 14 hours minimum — and that is before touching a single fix.
The AI-Generated Triage: 2 Minutes Per Machine, 30 Minutes Total
The key insight in Linux incident response is ordering: volatile evidence — running processes, open connections, deleted-but-executing files — disappears the moment someone reboots. You capture live state first, then hunt persistence. Never reboot before running Phase 1.
Everything below comes from my Linux Incident Response Commands toolkit — 70+ commands in the correct forensic order, one-click copy.
Phase 1 — Capture live state (volatile, run FIRST)
# Who is logged in right now — unexpected users are a red flag
w && who && last | head -20

# Active network connections with process names
# Look for: unknown outbound IPs, unusual ports, processes you don't recognize
ss -tnp | grep ESTABLISHED

# All running processes with full command lines
# Look for: base64-encoded strings, /tmp paths, python -c, curl|bash patterns
ps auxf | grep -v '\[' | head -50

# Files deleted from disk but still running in memory
# This is a classic attacker anti-forensic technique — legitimate software rarely does this
lsof +L1 2>/dev/null | head -20
What suspicious output looks like: ss -tnp showing an outbound connection to an unfamiliar IP on port 4444 or 1337 (common reverse shell ports). lsof +L1 returning any entries at all. ps auxf showing python3 -c 'import socket...' or a process running from /tmp/.
Phase 2 — Persistence check
# Cron jobs for every user — attackers add cron to re-establish access after cleanup
for user in $(cut -f1 -d: /etc/passwd); do echo "=== $user ==="; crontab -u $user -l 2>/dev/null; done

# SSH authorized_keys across all users — extra keys = backdoor
find /home /root -name "authorized_keys" -exec echo "FILE: {}" \; -exec cat {} \;

# Suspicious files in world-writable directories
find /tmp /var/tmp /dev/shm -type f -newer /etc/passwd 2>/dev/null

# New SUID binaries (shouldn't exist if you didn't create them)
find / -perm -4000 -newer /etc/passwd -type f 2>/dev/null
What suspicious output looks like: A cron job running a curl command or downloading from a remote URL. An authorized_keys file with a key you don’t recognize. Any file in /dev/shm — this is a RAM-backed filesystem attackers use specifically because it leaves no disk trace.
Phase 3 — Webshell detection (web servers only)
# PHP webshell grep — catches the most common backdoor patterns
find /var/www -name "*.php" | xargs grep -l "eval.*base64\|assert.*\$_\|system.*\$_POST\|passthru\|shell_exec" 2>/dev/null

# PHP files modified in the last 7 days — compare against known deployment dates
find /var/www -name "*.php" -mtime -7 -ls 2>/dev/null

# Hidden files in upload directories — webshells disguised as images
find /var/www/html/wp-content/uploads -name "*.php" 2>/dev/null
What suspicious output looks like: Leo found cache_config.php in the uploads folder — a PHP file in an uploads directory is almost always a webshell. Any file containing eval(base64_decode( is a confirmed backdoor.
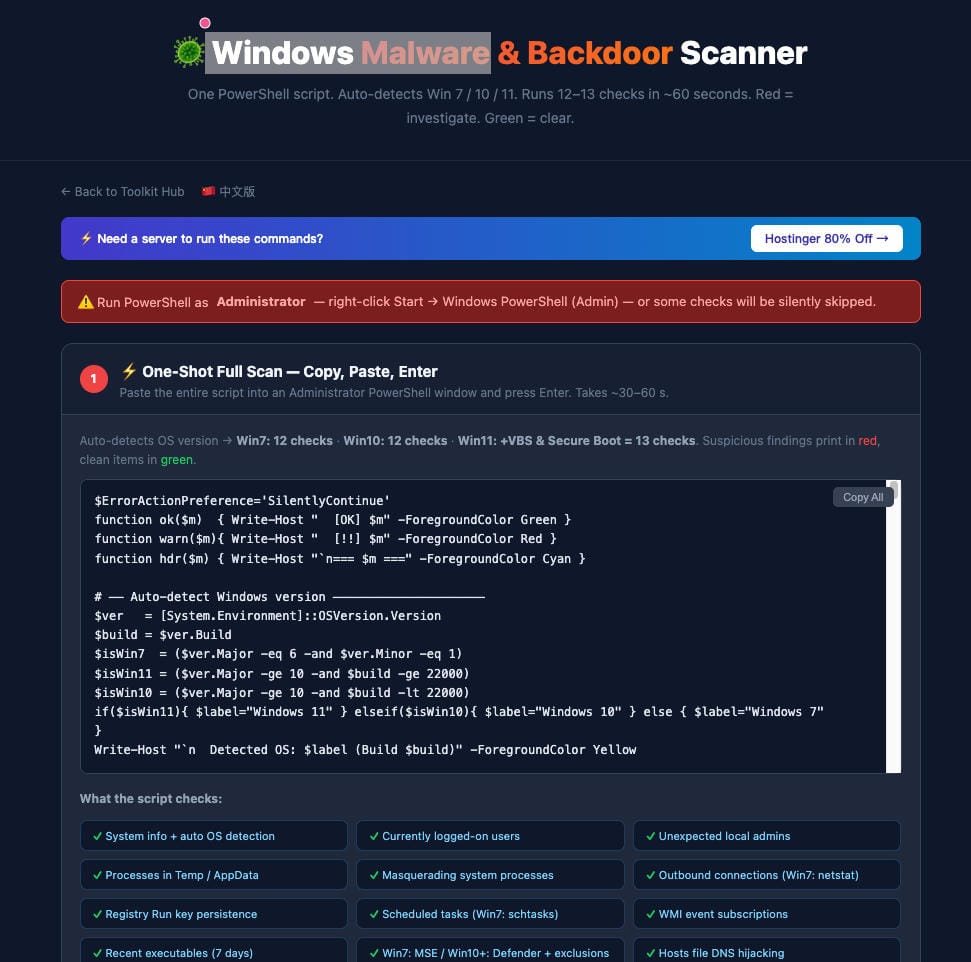
For the Windows machines, I pointed Leo at a different tool: a single PowerShell script that auto-runs 12 forensic checks in about 60 seconds — reverse shell detection, WMI persistence, Defender tampering, registry Run keys. He pasted it once per Windows machine and let it run.
The DDoS Side: What Helps at the Server Level
DDoS mitigation is largely infrastructure — you cannot script your way out of 100Gbps of traffic. But you can act immediately at the server level:
# Identify the top attacking IPs right now
netstat -ntu | awk '{print $5}' | cut -d: -f1 | sort | uniq -c | sort -nr | head -20

# Block the worst offenders immediately
iptables -A INPUT -s ATTACKER_IP -j DROP

# Nginx: add rate limiting to slow volumetric floods (put in nginx.conf)
limit_req_zone $binary_remote_addr zone=ratelimit:10m rate=10r/s;
For real protection: Cloudflare free tier absorbs most volumetric attacks. More Nginx and security hardening commands: Security Hardening Commands toolkit.
By 6am: Two Machines Confirmed Compromised
Leo texted me: “Found a webshell on server 7. PHP file in the uploads folder named ‘cache_config.php’. Classic. Also found a suspicious cron job on server 3 making outbound connections every 5 minutes. Two machines confirmed compromised out of 14.”
Then: “The script ran through all 14 machines in under 30 minutes. Before AI, this would have taken me all day and into tomorrow.”
Later that evening: “One hour per machine is now 2 minutes. The checklist does everything automatically.”
I told him: learn to use AI yourself. Stop making me your on-call consultant at midnight. He laughed. Then asked if I had prompts for writing incident reports.
The Toolkit He Used — Free for Anyone
Leo’s situation is not unique. Any website owner could face this: a WordPress site gets a webshell through an outdated plugin, a VPS gets a cryptominer, a login page gets hammered by a botnet. Most people would have no idea where to start.
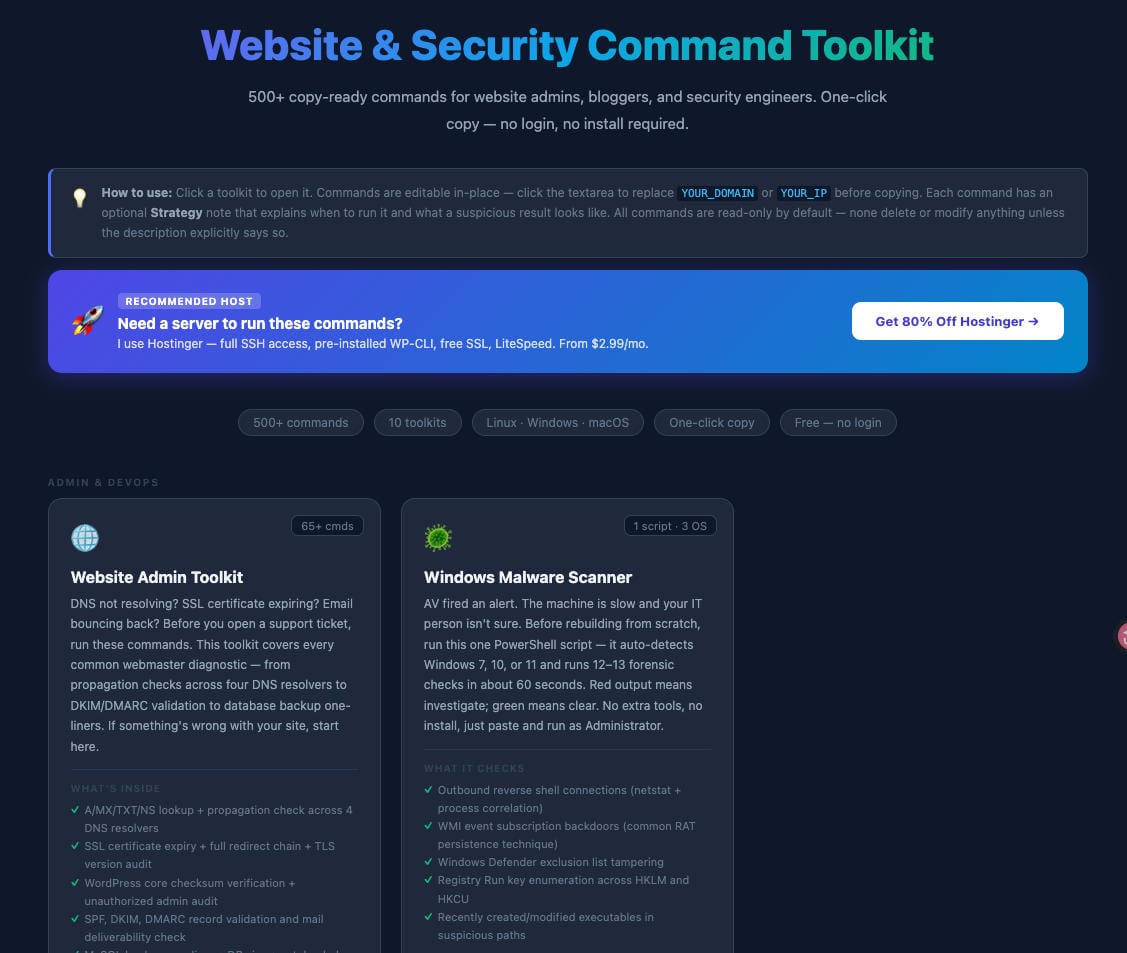
- Linux Incident Response Commands — full triage in forensic order: process forensics, persistence detection, rootkit scan. 70+ commands.
- Windows Malware Scanner — one PowerShell script, 12 auto-checks in 60 seconds.
- Webshell Detection Commands — grep patterns for PHP/JSP backdoors, Behinder/Godzilla signatures.
- Security Hardening Commands — SSH hardening, iptables, Nginx headers, fail2ban.
- Full Toolkit — 10 toolkits, 500+ commands — free, no login, one-click copy.
The One Rule Leo Keeps Ignoring
The real value is not any specific command. It is knowing what to check, in what order, before you panic and reboot something. Rebooting destroys volatile evidence — the running processes, open connections, and in-memory artifacts that tell you exactly how they got in. Once that is gone, you are rebuilding blind.
Leo texted me two days later: “You should charge for this.” I said: “It is free. But next time, ask AI first. At midnight, I am not available.”
I put this checklist together using AI to generate and organize the commands — tested and refined based on real incidents. If you find a command that does not work on your system, let me know in the comments.
Related Reading
- My Friend Was Hired as a Human Thermometer — AI Fired Him in 20 Minutes — same friend, earlier AI rescue
- Website Admin & Security Command Toolkit — all 500+ commands, free
Leave a Reply